Prototype in Figma
Figma is a cloud-based cross-platform design tool used for designing user interfaces. You can design, prototype, and gather feedback all in one place in Figma. Today, we’re going to learn how to the ‘Prototype in Figma.’

What is prototyping?
Prototyping means bringing your design to life. You can walk through different artboards by clicking on the interface elements. Usually, prototyping is done to showcase how exactly the final product is supposed to work.
How to begin with prototyping?
To prototype anything, you need to have a few artboards ready. Here, we’ll be beginning with 3 basic artboards and will create a prototype by using those.
Here are our 3 basic artboards. To prototype between them is to create a flow between them, now the logical way to do this would be,
- The user opens the app and clicks on the login.
- He is then taken to the dashboard where he can view all offers.
- There’s a setting icon on top clicking on which he can browse the different settings on the app.
- If he wants to go back to the dashboard, there is provision for that too.

Now we have to approach this scenario step by step.
- The user clicks on the login and is taken to the dashboard.

To do this, select the ‘Prototype’ tab on the top right of the screen. Then click on the login button to see the interface you see here.
There you can see 3 options.
Trigger
This to define what a trigger does to the element.
In this case, we’ve defined the trigger as ‘tap,’ which means the prototype state will change when we tap on the button.
Action
It defines what happens after you trigger your element. Here, you have to select the screen that should be opened when the element is triggered. In this case, we select the dashboard.
Transition
This is to define the animation that occurs during the action of the trigger. You can choose from Instant, Dissolve, Move in and Move out, Push, Slide In, and Slide Out. Similarly, we define the next trigger and action for the settings icon on the dashboard too.

Clicking on the settings icon takes you to the ‘Settings’ Page.

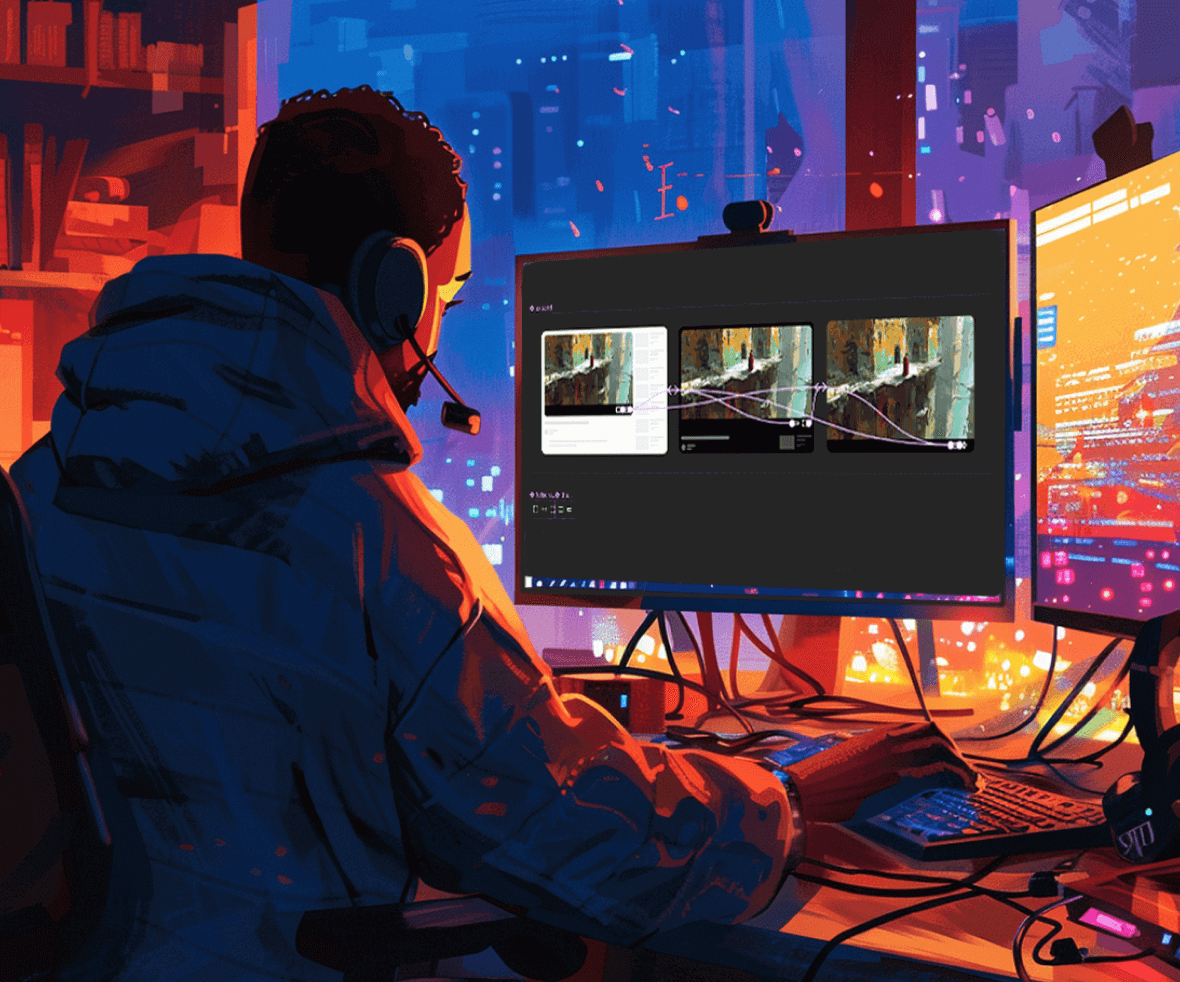
This is how everything looks when prototyped. You’ll see these lines that indicate how an element is linked to any screen. Click on Present to run your prototype.

This is how the interface will show up.

You can now interactively click through the elements to watch the prototype version of your design how all these elements work in common and how they’re linked to each other.
Conclusion
By following this guide, you can take your static Figma designs and transform them into interactive prototypes that simulate real-world user experiences. This allows you to gather valuable feedback and refine your designs before development begins.
Need help bringing your designs to life with Figma prototyping? Look no further than the best digital design agency, to create interactive prototypes that not only showcase your design vision but also provide valuable user insights. Contact us today to discuss your project and see how we can help you elevate your design process.
Happy prototyping!


